Insider Tips for Installing Magnetic Screen Doors in Under 10 Minutes
Professional handymen charge $100+ to install a magnetic screen door. With a Zoorscreen custom magnetic screen door, you can do it yourself in under 10 minutes—and do it just as well. Here's how the pros do it.
ZOORSCREEN Team
Updated 2026-05-30 · 3 min read
Updated 2026-05-30 · 3 min read
What You'll Need
1. Your custom magnetic screen door (pre-cut to your measurements)
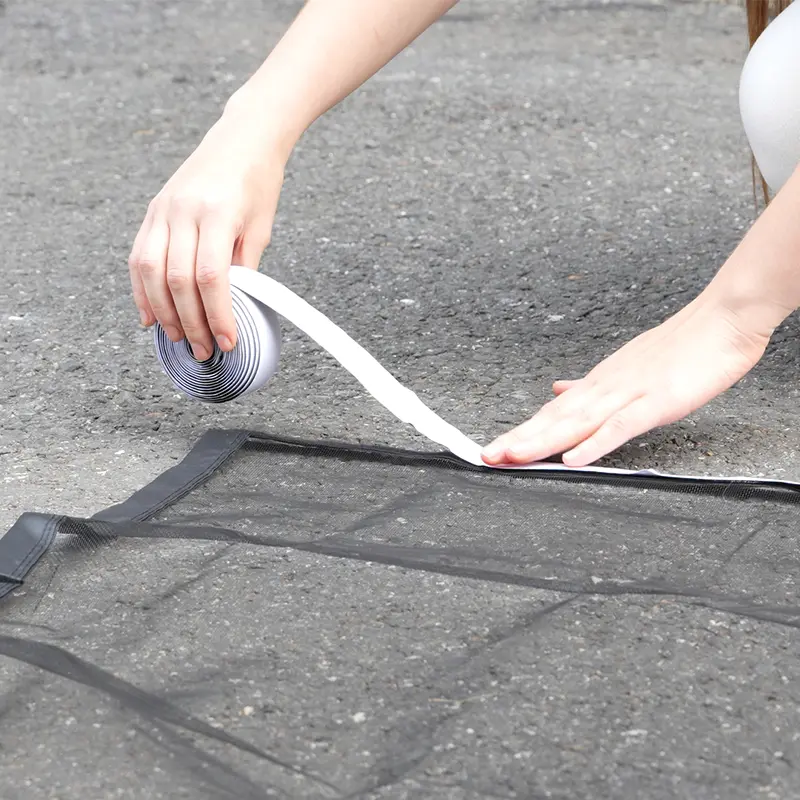
2. Adhesive magic sticker strips (pre-cut to match your order)
3. Cleaning cloth and rubbing alcohol
4. A helper to hold the screen while you align it (optional but recommended)
Time-Saving Prep Steps (Do These BEFORE Opening the Box)
Step 1: Clean the Door Frame (1 minute)
Wipe down your entire door frame with rubbing alcohol. Remove all dust, grease, and debris. This is the most skipped—and most important—step in any magnetic screen door installation.
Step 2: Dry Fit Without Adhesive (2 minutes)
Before peeling any sticker backing, hold the screen up against your door frame. Check the fit. Make sure it covers the full opening and that the magnetic closure will align properly. This is your last chance to adjust before committing.
Step 3: Mark the Alignment (30 seconds)
Use a pencil to lightly mark the corners of where the magnetic screen will sit. This keeps everything aligned as you apply the adhesive—especially important for French doors and sliding glass door magnetic mesh installations.
The Fast Installation Method
Step 4: Apply Adhesive to Frame (2 minutes)
Peel the backing from the adhesive strips and apply them directly to the clean door frame. Work from top to bottom, pressing each section firmly as you go. Don't apply to the screen itself—always apply to the frame.
Step 5: Attach the Screen (3 minutes)
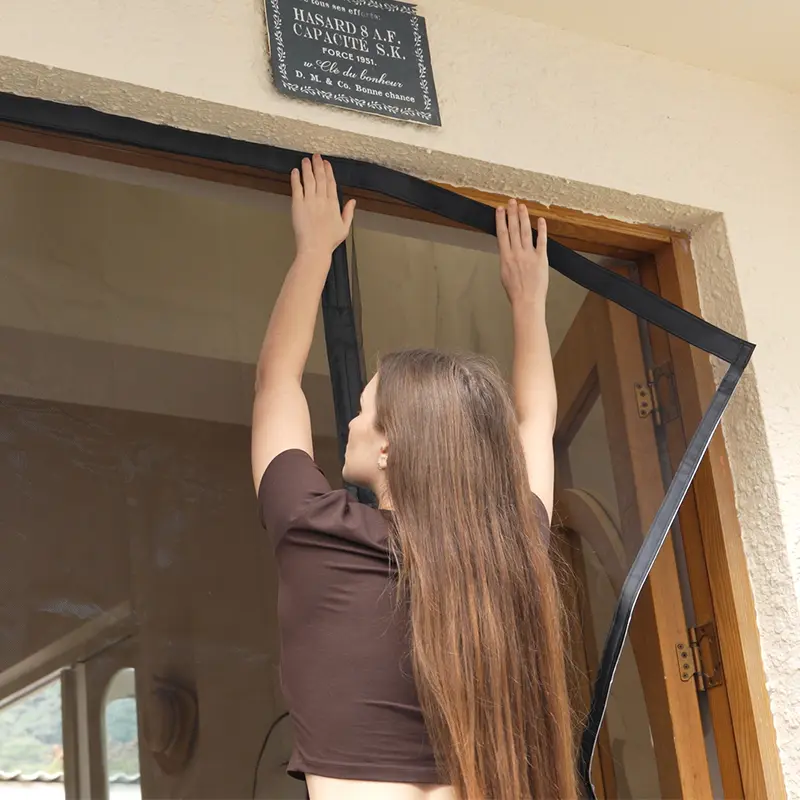
Starting at the top center, press the magnetic screen's top edge firmly into the adhesive. Work your way down one side, then the other, smoothing as you go. Finally, press the bottom edge in place.
Step 6: Seal the Magnetic Closure (1 minute)
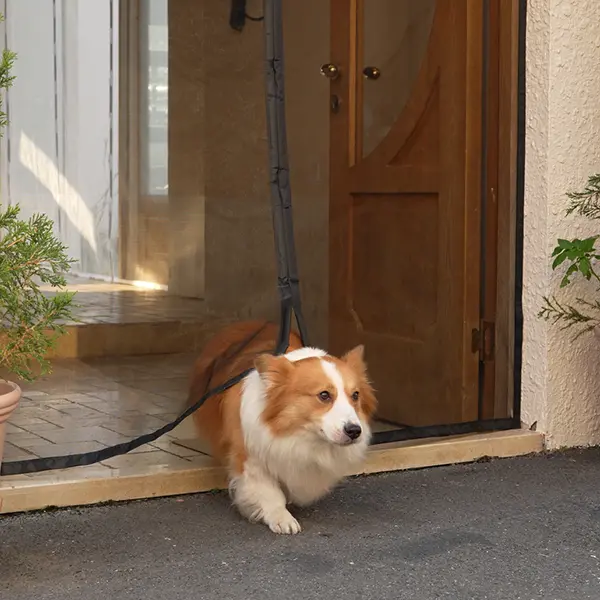
Close the two halves of the screen and check the magnetic closure. Adjust the connection points if needed for a tight, even seal. Press down along the entire center seam to secure the wind-resistant magnetic closure.
Step 7: Final Check (1 minute)
Open and close the magnetic screen door 5-10 times. Check that it seals properly, doesn't sag, and sits flush against the frame. Make any final adjustments immediately while the adhesive is still workable.
Pro Tips for Specific Installations
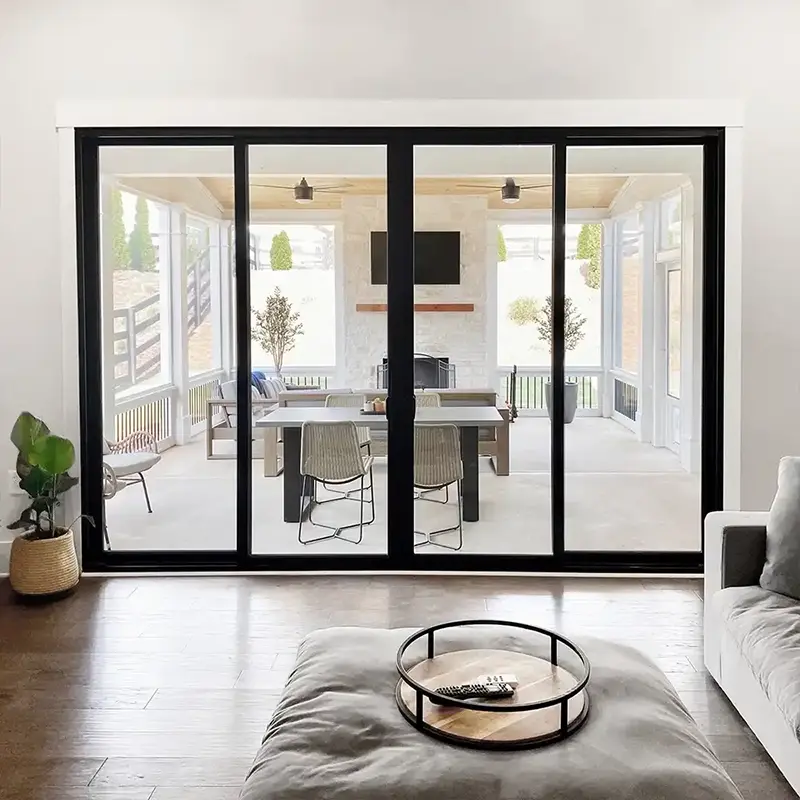
For Large Patio Door Screen Solutions:
- Use two people for large installations
- Install in the morning when temperatures are mild
- Allow extra cure time (30 minutes) before full use
For RV & Camper Custom Screen Door:
- Clean the often-irregular frame surfaces extra thoroughly
- Consider using additional adhesive strips for added security on the road
- Test the magnetic closure after the first drive
For Sliding Glass Door Magnetic Mesh:
- Pay special attention to the track area—the screen should not interfere with door operation
- Ensure the magnetic closure aligns with the gap between fixed and sliding panels
Why Zoorscreen Makes Installation Easier
Zoorscreen's custom screen door by dimensions means your screen arrives pre-cut to your exact measurements—no trimming, no guessing, no "close enough." Combined with the pre-cut adhesive strips and the magic sticker mounting system, the entire process takes under 10 minutes for most installations.
---
Ready for a 10-minute upgrade? Get your custom Zoorscreen magnetic screen door at zoorscreen.com use the online screen door configurator and get an instant quote for custom mesh today.
Get Door Tips in Your Inbox
New guides, product updates, and exclusive offers — once a month, no spam.