Magnetic Screen Door Installation: A Step-by-Step Guide for Every Door Type
Installing a magnetic screen door is a 15-minute DIY job—if you know the tricks. This guide covers measuring, prep, and installation for standard doors, French doors, sliding doors, and RVs.
ZOORSCREEN Team
Updated 2026-08-08 · 7 min read
Updated 2026-08-08 · 7 min read
Why Installation Matters More Than You Think
You bought a custom magnetic screen door. The size is right. The mesh is tough. The magnets are strong. But if you install it wrong, none of that matters.
A poorly installed screen door will:
Sag in the middle
Leave gaps at the edges
Let bugs in
Fall off after a few weeks
Get the installation right, and your screen door will last for years. Get it wrong, and you'll be frustrated every time you walk through. Let's fix that.
What You Need Before You Start
Tools and Materials
Your ZOORSCREEN magnetic screen door (custom-sized)
Tape measure
Pencil or marker
Level (optional but recommended)
Clean cloth and rubbing alcohol
Scissors (for trimming, if needed)
Helper (for large doors—optional)
Check Your Door Frame
Your screen attaches to the door frame, not the door itself. The frame needs to be:
Clean: No dust, grease, or old adhesive
Dry: Moisture prevents adhesion
Smooth: Paint or varnish is fine; peeling paint is not
Flat: The adhesive needs full contact
Pro tip: If your frame has chipped paint or rough spots, sand them smooth and wipe clean.
Measuring Your Door: The Make-or-Break Step
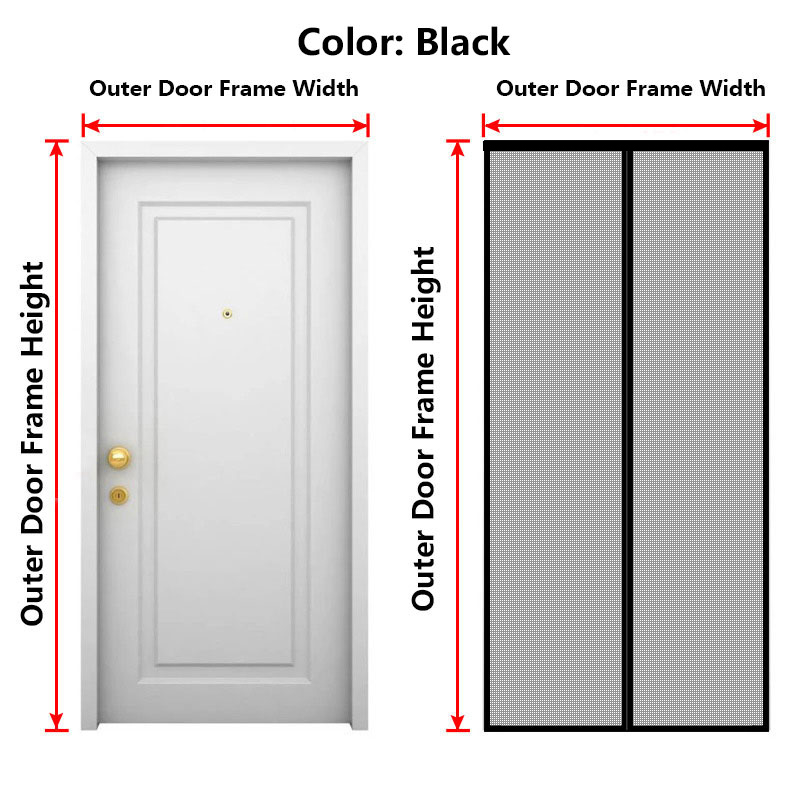
Standard Single Door
Measure the width at the top, middle, and bottom of the door frame opening
Measure the height on the left, center, and right
Use the smallest width and smallest height for your order
Why the smallest? Because your screen needs to fit inside the frame. If you use the largest measurement, the screen will be too wide and won't sit flat.
French Doors
French doors have two panels that meet in the middle. You need two screens—one for each panel.
Measure each panel separately (they might not be identical)
For each panel, measure width and height at three points
Account for the gap between the doors when they close
The tricky part: The magnets need to meet in the center. If your French doors have a mullion (center post), you can use a single wide screen. If they meet without a post, you'll need two screens that overlap slightly.
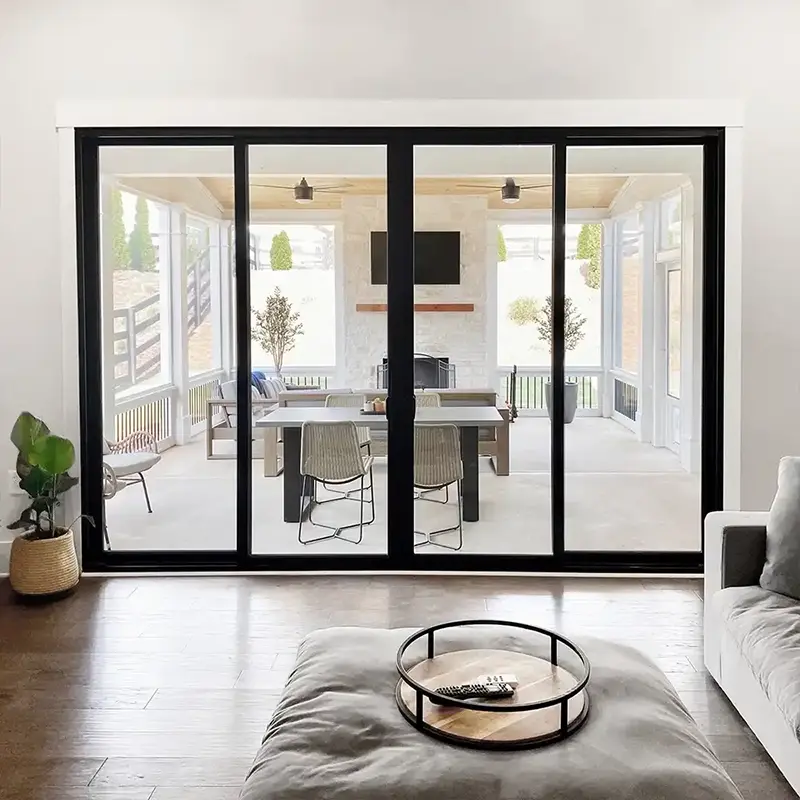
Sliding Glass Doors
Sliding doors have a fixed panel (the one that doesn't move) and a sliding panel. You screen the opening, not the fixed panel.
Measure the width of the sliding opening
Measure the height from the track to the top of the frame
Note the track depth—some screens need extra clearance
Watch out for: Sliding doors often have uneven tracks. Measure at the front and back of the track to find the narrowest point.
RV and Camper Doors
RV doors are smaller and have curved corners. Standard screens won't work.
Measure the width at the top, middle, and bottom
Measure the height at the left, center, and right
Note the corner radius (curved corners need a custom cut)
RV tip: ZOORSCREEN offers custom sizing for RVs, including curved corners. Just send your measurements.
Preparing the Frame
Step 1: Clean Thoroughly
Wipe the entire frame with rubbing alcohol
Let it dry completely (30 seconds is enough)
Don't skip this—adhesive won't stick to dirt
Step 2: Mark Your Alignment
Hold the screen up to the frame
Mark the top center with a pencil
Mark the corners if you want extra precision
Step 3: Test the Fit
Hold the screen in place without peeling the adhesive
Check that it's centered and level
Adjust as needed
Installation: The 15-Minute Method
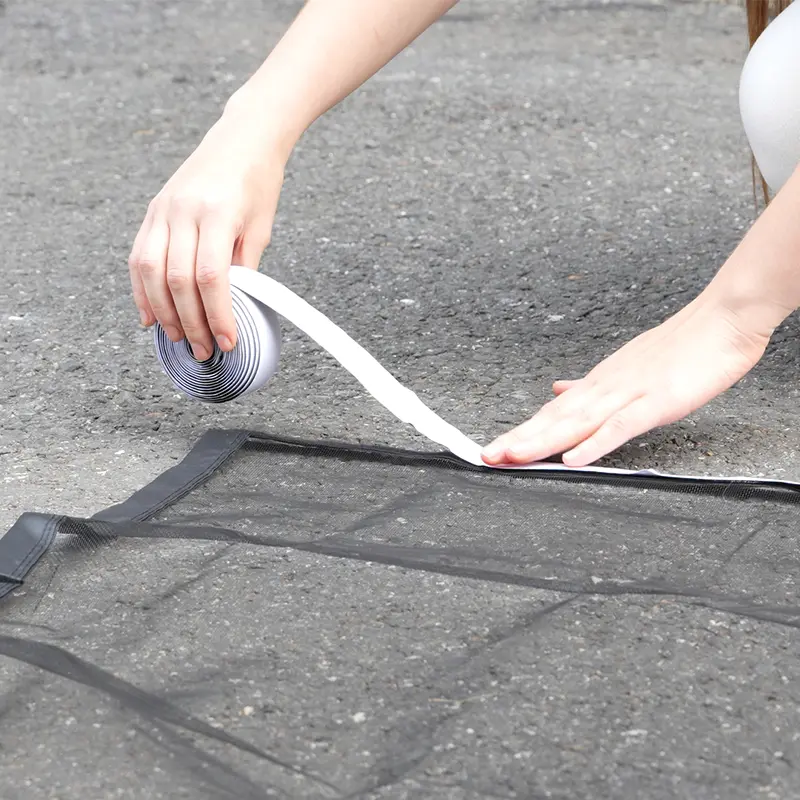
Step 1: Peel and Stick the Top
Start at the top center of the screen
Peel a few inches of the adhesive backing
Press firmly onto the frame at the top center
Work outward to the corners, peeling and sticking as you go
Don't peel the entire backing at once. Work in sections to keep the screen taut.
Step 2: Attach the Sides
Move to the top left corner
Peel and stick down the left side, keeping the screen tight
Repeat on the right side
Tension trick: Pull the screen gently outward as you stick it. Too loose = sagging. Too tight = stress on the adhesive.
Step 3: Attach the Bottom
Start at the bottom center
Peel and stick outward to the corners
Make sure the screen is flat against the frame
Step 4: Test the Magnetic Closure
Let the screen hang for 30 seconds
Push the magnetic panels apart and let them close
Check that the magnets meet evenly
If they don't, adjust by repositioning the screen
Step 5: Trim Excess Material (If Needed)
If the screen extends beyond the frame, trim with scissors
Leave 1/8 inch of extra material for a clean edge
Don't cut the adhesive strips
Troubleshooting Common Installation Problems
Problem: The Screen Sags in the Middle
Cause: The screen wasn't pulled tight enough during installation.
Fix:
Gently peel the screen off from one side
Re-stick with more tension
Consider adding a tension rod at the bottom (inserts into the frame)
Problem: The Magnets Don't Meet
Cause: The screen is installed crooked or the frame is uneven.
Fix:
Check that the screen is level
If the frame is uneven, adjust the screen so the magnets align
You can slightly angle the screen to compensate
Problem: The Adhesive Won't Stick
Cause: Dirty or damp frame, or cold temperatures.
Fix:
Clean the frame again with rubbing alcohol
Warm the adhesive with a hair dryer (low heat) for 10 seconds
Press firmly for 30 seconds
Problem: Gaps at the Corners
Cause: The screen wasn't fully pressed into the corner.
Fix:
Use a credit card or putty knife to press the screen into the corner
If gaps remain, add a small piece of double-sided tape
Installation for Different Door Types
French Door Installation
Install one screen on the left panel
Install the second screen on the right panel
The magnets should meet in the center gap
If there's a mullion, you can install a single wide screen
French door tip: Test the closure with both doors open and closed. The magnets need to align in both positions.
Sliding Door Installation
Install the screen on the sliding door opening
The fixed panel stays in place
Make sure the screen doesn't interfere with the sliding track
Test that the slider moves freely past the screen
Sliding door tip: If the screen brushes against the slider, trim the bottom edge slightly. I once helped a friend install one on a sliding door where the track was slightly bent—trimming just a quarter-inch off the bottom solved the problem instantly.
RV Installation
Clean the RV door frame thoroughly (often dirtier than home frames)
Install the screen with the curved corners aligned
Use the included adhesive strips for the curved sections
Test the closure with the RV door closed
RV tip: Vibration from travel can loosen adhesive. Press firmly and let it cure for 24 hours before using the door.
After Installation: First 24 Hours
Keep the door closed for the first 24 hours
Don't walk through the screen (use the regular door)
This lets the adhesive cure fully
After 24 hours, it's ready for normal use
When to Call for Help
Most installations are straightforward. But call a friend if:
Your door frame is unusually large (over 42 inches wide)
Your frame is damaged or uneven
You're installing on a metal frame (different adhesive needed)
You want a second pair of hands for tensioning
Why Custom Sizing Makes Installation Easier
Off-the-shelf screens come in standard sizes. You have to guess and hope. Custom screens like ZOORSCREEN are made to your exact measurements. That means:
No trimming to fit
No gaps at the edges
No wrestling with too-large material
Perfect magnetic alignment
Custom sizing eliminates the most common installation headaches.
Final Checklist
Measured door frame at three points (width and height)
Ordered screen to smallest measurements
Cleaned frame with rubbing alcohol
Tested screen fit before peeling adhesive
Installed from top center outward
Maintained tension while sticking
Tested magnetic closure
Allowed 24-hour cure time
Get Door Tips in Your Inbox
New guides, product updates, and exclusive offers — once a month, no spam.